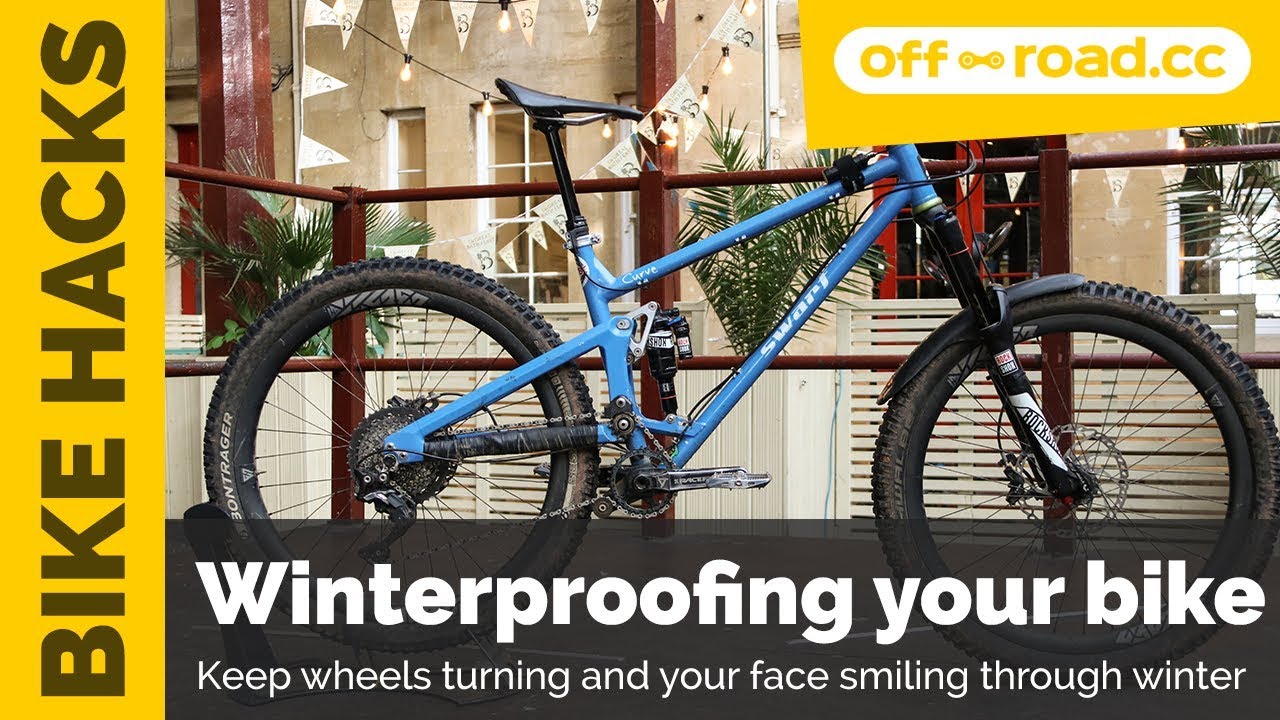
How to Set Up Your Mountain Bike for Winter
Winter bike set up is an important part of cycling in the colder months. A few subtle changes, some small tweaks and a little bit of preparation will keep those wheels turning and your face smiling through the chilly months. Here we go through the alterations we make to our everyday rides when the weather changes.
Getting your bike set up specifically for winter is just as important as wearing the right kit. We talked about the winter kit essentials here so along with this guide, you and your bike will be all set to hit up the trails whatever the weather or conditions throw at you!
De un vistazo
Mudguard
We have to be honest here – we actually rarely remove our mudguard, it’s an all year round fixture to our everyday rides and we reckon you are probably the same too. Living in the UK means we deal with mud and slop on a regular occasion, be it mildly warm and muddy in the summer or baltic and muddy in the winter! So, although we usually have a mudguard like this Mudhugger here, attached all year round, the length of this fender might change slightly from summer to winter. Drier conditions might call for a shorter mudguard which can then be swapped out in the winter for one with more coverage front and rear.

The best mudguards will fit securely to the fork leg to stop them moving around and to fend off any knocks, bumps during crashing or transportation. To get the most protection and to prevent spay flicking up into your face and eyes you need to look for a guard with a good amount of coverage to the front and rear. A mudguard that extends forward of the fork bridge and a good deal backwards, following the curve of the tyre will prevent mud flicking up as you ride and stop you riding forwards into any spray created as the wheel rotates.


Lights
A good set of lights is essential to keep you riding through the week during winter. Without lights, time on the bike will be limited to weekends only and that’s not ideal is it? Before we start, lights are measured in lumens which is “a unit of luminous flux in the International System of Units, that is equal to the amount of light given out through a solid angle by a source of one candela intensity radiating equally in all directions” – basically more lumens = brighter!
For maximum night time brightness we reckon you are best off with three lights – two at the front, one larger and brighter on the bars, one lighter of a lesser brightness on your head and then one at rear too.

Front Light No. 1 – The bar mounted light.
This will be a light with as many lumens as you can afford, brighter lights are generally pricier. Here MTB specific lights are likely to offer a wider field of view than those aimed at road riders. The more lumens it has, the brighter the light, but beware, these lights can be heavier and bigger or will have large external battery packs. As a general rule of thumb the more you spend the brighter the light and the more lightweight and compact this will be. Lumen numbers getting up towards 4000 is pretty lofty and will serve you very well. That said we’ve been happy enough razzing round the woods with 1000 lumens on the bars. We’d recommend at least 1000 lumens for the bar mounted light, upwards of this is only likely to increase your enjoyment further!
In the bar mounted light you should also be looking for a light which has a wide beam, covering as much ground in front of you as possible. A light which is ‘pinpointed’ on the ground, however bright, will be hard to ride with especially at speed. Lights with external battery packs are easy to use, the battery often fits neatly to your top tube and is unobtrusive and easy enough to whip off and charge.

Front Light No. 2 – The helmet mounted light.
A smaller, less weighty light mounted to your helmet will allow you to see wherever you look. So, as the handlebar light does its job to light up the trail directly in front of you, the head mounted light will be lighting up where you are off to next as you look round the corner. It’s also very handy when performing all other off bike tasks in the pitch black! You can use something with a lesser lumen count here, say the 500-1000 mark and be happy with your set up. Lights with fewer lumens are usually lighter so will be more comfortable to wear on top of your head for long periods. Bear in mind you might spend a lot of time shining this light into your mates face so going too bright might cause them some discomfort too! Make sure this light has a switch that is easy to locate and use with gloves on whilst it’s still on top of your head, its a right pain if you have to take your helmet off to adjust the brightness.

Rear Light
Although not as important if you are going to be solely Gravelers, if you need to hit a road anytime on your night ride, you’ll need a rear light. We usually flick the rear light off when riding Gravelers in a group as it can be distracting for the rider behind you.
Rear lights and dropper posts are a tricky combination, although there are ways around the problem. If you have some seat post extending above the seat tube then fitting any regular light here won’t be a problem. If your seat post is slammed into the seat tube though this won’t be an option. Obviously attaching any light to the stanchion of your dropper post is a no-go, you’ll only end up with a scratched post. We recommend buying a light which can be clipped onto your pack as a good alternative. Some brands such as Exposure offer a small red LED plug-in for the rear of their helmet mounted lights, offering small but bright rear light, although it will move around with your head and may not always be visible to road users. If you are running a newer Fizik saddle there will be a slot in which you can fit one of their saddle mounted lights which are a great idea meaning you can leave it in place all the time, if your bum doesn’t get on with their perches though, it won’t be for you.

Tyres
Fitting a tyre that provides good grip in the wet can be like riding in night and day. It’s the only part of your bike that is (well, should be) in contact with the ground and that makes it pretty important to get that connection right. We’ve written a whole guide to getting the right tyres for your bike and the type of riding you do, full of useful information and jargon busting terms so buying tyres doesn’t become a minefield. Here we talk winter tyres taking into account tread differences between the front and rear, compounds and pressures.

Tread for the Front
As soon as the weather turns mucky it’s time to put on an ‘intermediate’ tyre on the front of your bike. This will be something with a substantial tread pattern such as a Schwalbe Magic Mary or a Maxxis Shorty. A more aggressive tread pattern will help the tyre grip better in wetter and sloppier conditions, digging deeper into the ground. These types of tyres will offer large centre knobs for good braking traction and also prominent outer knobs to cut into the ground when cornering.
An intermediate is ideal for a range of conditions and some can be great go-to tyres if you’d like to ‘set and forget’ rather than changing tyres every few rides. The ‘Mary is great for both loamy, looser conditions and it’s also super grippy over rock and hard pack, it can feel pretty slow and heavy if you are used to fast rolling summer tyres. Fitted to the front of your bike though we don’t think you’ll find this too much of an issue – the rewards you reap in grip will be worth the weight penalty. The Shorty has wider spaced, slightly smaller knobs and looks more like a mud spike, just erm, less spiky. Riders often cut down the inner tread on a full mud tyre to help them roll better, step in the Shorty…… it’s for loose, loamy, super wet riding and the wide knobs clear the mud really well. In our experience though, it doesn’t grip so well over hardpack, wet rocks or roots, so less ideal for trail centre or hard packed riding surfaces. It’s a good idea to have a think about where you ride most and choose a tyre based on the conditions there.

Tread for the Rear
It’s a similar theme for the rear tyre, a chunkier tyre will provide more grip, both whilst braking and whilst cornering. On the rear we suggest you fit a tyre which has large, well-spaced tread and that also has ramped centre knobs. Something like a Maxxis Minion DHR or this Bontrager SE5 is good here, the ramping of the centre tread means that it will roll well. The rear edge of the centre knobs will provide good braking traction and the chunky side knobs will help the tyre to grip when leaning into a corner. It’s easier to control a rear wheel slide than it a front washout so this tyre can afford to be a little less chunky than the front. It’s ok to mix and match here, using different tyres or different brands for the front and the rear is commonplace.

In general, your rear tyre will need to use a slightly tougher casing compared to the front. You put a lot more weight through the rear wheel and it’s the rim tyre that is likely to come a cropper in rock gardens, having a thicker or tougher casing here will pay dividends. For example, where Maxxis tyres are concerned, you might get away with an EXO casing tyre on the front but need the Double Down casing on the rear both to prevents flats and to provide stability.

Going for a Full Mud Tyre
If conditions are truly horrendous and you expect to ride in mud approaching the axels then a mud spike on the front wheel could be the answer. The tread here tend to be lengthy, square knobs which are widely spaced, clearing mud quickly and not getting clogged up. The downside of this is that those long spikes tend to bend, deform and deflect when used on a hard surface, making them sketchy and vague under braking or cornering. They’re also much draggier when pedalling or rolling. A mud tyre is one fit for specific occasions such as a day out in a super muddy woodland or a race in extreme conditions, you’re unlikely to want to pedal it all winter long. That said, the precision and grip a mud spike will afford you is something to behold especially when you thought you’d be doing more sliding than riding! If you go full mud on the front, we reckon you’ll still be ok with an aggressive intermediate tyre on the rear to compliment it.
Tyre Compounds
Generally speaking, the softer the rubber compound, the grippier the tyre will be, especially in the wet. The downside is that softer rubber is much less durable and will wear faster. A harder compound rubber will roll faster and last longer, but won’t offer the same levels of grip. Rubber hardness is measured as a Shore rating. The lower the number, the softer the rubber. For example, a 40a rating would be extremely soft, while a 60a rating is hard.
Harder tyre compounds are really to be avoided in the winter where conditions will demand you come equipped with a tyre to harness the most grip possible. Rubber tends to get harder as it gets colder, so the problem of less grip is only exacerbated but the chilly weather. It is possible to buy tyres that offer a harder compound for the centre tread to aid rolling ability and prevent them wearing out so quickly whilst using a softer compound for the outer tread for extra grip in the corners.

Tyre Pressures
A guide to finding the right tyre pressure for you is a minefield, so much so in fact that it deserves its own guide (*makes note on ‘to do’ list*). As we said above, the tyres are your contact point with the ground so its essential for the choice and pressure to be optimal for the conditions. Tyre pressures won’t necessarily change in the winter but the effect of running too much air in your hoops will be much more obvious. Winter is all about having as much grip as possible so lower pressures here will rule. As a rule of thumb, a 70kg rider running a tubeless 2.4 tyre (with a decently tough carcass) can run 18-20 PSI in the front and 24-26PSI in the rear tyre. Adjustments can be made either side of this depending on style of riding (more aggressive = more PSI to prevent burping) and weight (heavier riders will need to run more air). Adjustments should also made with regards to your set up, tubeless tyres and wider rims / tyres can generally be run at lower pressures whilst narrower combinations or where tubes are used will need to be run at higher pressures to prevent tyres either rolling or getting pinch flats.
Pedals
It’s a great idea to give flat pedal riding a go in the winter, it will improve your riding no end, bringing you back to basics, pointing out problem areas in your riding and making you address them. Cleats can sometimes be used to ‘cheat’, riding on flats will help you learn to keep your weight down in your heels and stop you using the cleats to pull the bike closer to you for example when bunny hopping for jumping. Flat pedals are also super handy for when things get a bit looser than you expected, a foot can be stomped out super quick, keeping you upright and on your way down the trail – foot out, flat out and all that.

The best flat pedals will have plenty of pins (11 or more) and will have a slightly concave shape to aid grip on the bottom of your shoe. Paired with a good grippy, flat pedal specific shoe there will be plenty of traction. Look for pedals with sealed bearings to prolong their life in the winter slop and also one that will shed the mud easily. What are you waiting for, get rid of your clipless pedals and get some shin-rippers on for some re-education!

Cleaning
Winter signals the end to any thoughts you had of just dumping your bike in the shed and running to sit by the fire post ride. Leave a muddy, wet bike in the garage on a regular occasion and chances are when you return your drivetrain will have had second thoughts about whether it wants to play ball and your bearings might resemble a crumbly fruit cake. Get into the habit of cleaning up your steed at the end of every ride and your fleet will be raring to go, box-fresh out of the shed every time.
A quick hose down and froth up with a reputable bike cleaner will do the job nicely. Rachael here in the office uses a paintbrush to get the bike cleaner in all the nooks and crannies of her bike. She then uses a stiffer brush and a liquid degreaser to give the cassette, chainring and mech a good scrub, finishing off by using a dedicated chain cleaning tool to degrease the chain. After your bike is all scrubbed up its best to dry off, as best you can, all the moving parts with a clean cloth – shock stanchions, bearing housing and bushes. With a separate rag dry the chain off too. Then it’s just a case of applying some chain lube to the chain and wiping off the excess. Job done.
We are always all ears for new tips and tricks where bikes and riding are concerned if you have any more ways to stay happy on the trails this winter then let us know in the comments below!
You might also like: